
Entity resolution is the process that determines who is who and who is related to who within and across your data. Entity resolution differs from simple record matching. Entity resolution creates a complete resume of an entity including all the names you know them by, places you have recorded that they have lived, email addresses they have used, etc. Senzing also deduces how resolved entities are related.
Senzing is specifically designed to support people and organization entities. For entity resolution to be effective, these entities will have names, addresses, phone numbers, identifiers and other attributes. Note: If you have name only data or names plus very limited information e.g. city or gender, Senzing is not for you.
Senzing is perfectly suited to entity resolve your customers, prospects, employees, vendors, watch lists and more.
Requirements
Operating System
- Windows 10 64 bit or later
- MacOS - Recent version
Minimum Hardware Specifications
- 4 cores
- 16GB RAM
- 250GB flash storage (SSD or NVMe)
Downloading
Features


Click the Get Help button in the upper right portion of the app screen to request help from Senzing support.
Startup Demo Project
Loading Data
Upon initial startup you are presented with a demo project that contains sample data ready to load into Senzing. A project contains data to be loaded, reviewed and searched, there can be multiple projects all containing different sets of data.
Click OPEN on the Demo Project card to view the data to load in the demo project.
The three data sources are CSV files that contain data describing customers, some reference data and a watch list. Data source is the term used to describe a single source of data, where its contents have been extracted from a source system. For example, the customers.csv for the CUSTOMERS data source may have been exported from a CRM system. It is the data in each of these data sources that is loaded into Senzing and entity resolution processing completed on.
To review the data contained in each data source click on the MAPPING button on a data source card. Don't click on or adjust anything, mapping will be covered a little later. Click the blue back arrow in the upper left to go back.
To load and complete the entity resolution processing, click the LOAD button on each of the three data sources. Once each has loaded all processing has been completed and the LOAD button will change to REVIEW, it's time to review the outcomes of entity resolution.
Reviewing Outcomes
Click on REVIEW on the CUSTOMERS card.
There are three categories of matches:
- Duplicates
- Records from within and across the data sources have resolved together to form a single entity.
- Possible Duplicates
- Entities are strongly related and could possibly be the same, they share common data attributes but there isn't enough information at this time to match them together or conflicting data is holding them apart.
- Possibly Related
- Entities are related, they share common data attributes but they are not the same.
At the current screen, Duplicates from the CUSTOMERS data source are being reviewed as indicated in the header. There are 36 such entities.
Considering the entity Robert Smith, note:
- It is comprised of 4 CUSTOMERS data source records that have resolved together to form an entity
- The Robert Smith entity is designated as Entity ID 1
- There are variations in the names
- There are transpositions in the date of births
Now click on the number in the Possibly Related category.
Considering the entity Eddie Kusha, note:
- Eddie Kusha is an entity comprised of multiple records
- Under his records is an entity, Mary Kusha, also comprised of multiple records
- Eddie Kusha has a relationship with Mary Kusha, note her entity ID in the Related Entity ID column
- They are related because they share (+) an address, email and surname but their date of birth and SSN are different (-), this is the Match Key column
When multiple data sources are loaded the review screen provides the ability to compare two data sources and see how many entities there are that are comprised of records from the two data sources. This is achieved by selecting two data sources in the selectors on the review screen, the following example specifies CUSTOMERS and WATCHLIST.
The overlapping segment details how many entities are comprised of records from both the customers data source and the watch list data source. In the above example there are 6 entities comprised this way. Notice how entity 5 is comprised of 2 records, one from each data source selected. The outer segments represent the number of entities only comprised with that data sources records. Clicking on the digits in each category and segment will update the display for the category.
Clicking on an Entity ID will take you to the resume for that entity. The entity resume gives you a comprehensive overview of all the records and data sources that compose an entity, as well as any relationships. Relationships between entities are also graphed.
Adjusting Review Sample Size
The review screen does not show every entity for the category being reviewed, instead, it shows a sampling size of 150 results.

If you'd like to view a larger sampling, click on the Sample button and from the Preferences pop up choose your desired Review Sample Size. Larger sample sizes can incur a performance penalty upon reviewing.
Entity Centric Learning
When reviewing the matches you may see a More button in the More column. This indicates Entity Centric Learning (ECL) has occurred and there are additional records from different data sources that have contributed to the entity. Click the More button to expand and display the full set of records.
In this example detailing duplicates for the customers data source, expanding the More button for entity six reveals two additional records from the watch list data source have resolved to the entity. Senzing has resolved records from both the customer and watch list data sources together forming the single entity.
Entity Searching
Use the Search screen to search for entities.
Search is designed to find any entities that match any of the search criteria. It is not a query for a group of people who live in the same city or have the same last name, etc. In fact, you must enter the complete name (given and surname) to find a match on name. Likewise, you must provide a complete address including street address and either city or postal code to find a match on address.
Ideally, a search for a single entity would contain the following:
- A complete name
- A complete address and/or phone and/or email
- A birth date and/or passport, driving license number or national ID
Exporting Entity Resolution Outcomes
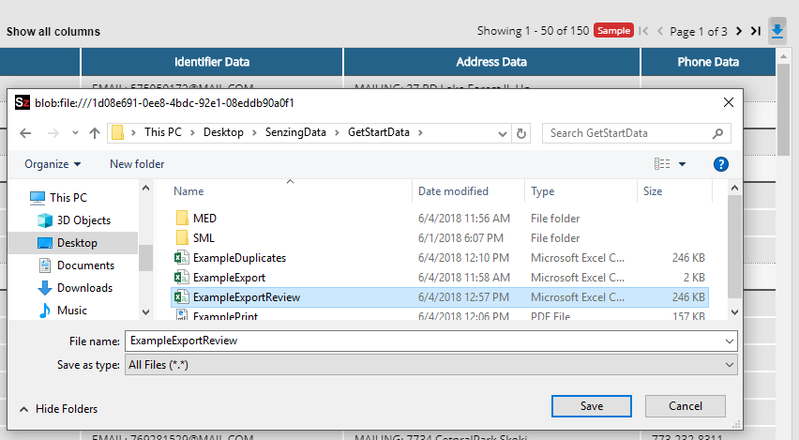
There are 2 mechanisms to export entity resolution results. The first of these is from the results review screens, in the top right-hand corner of the results is a blue arrow. This will export the currently viewed results category to a CSV file.
You can also export the complete resolved entity data using the export facility. The Include Entities tick boxes determine the match levels to include in the export.
When ready to perform the export click Create Entity Export, when the export is ready the Download Entity Export button will be available.
Mapping and Loading Your Own Data
Having explored the included demo project and sample data, it's time to entity resolve your data.
Locating Your Data Sources
These are your customers and prospects, possibly even your employees and vendors, or any source of records containing identity data. You can find these in your:
- Address Books: Microsoft Outlook, Gmail and Lotus Notes
- Customer Relationship Management (CRM): Salesforce, ACT, SugarCRM, and Microsoft Dynamics
- Direct Marketing systems: MailChimp, Constant Contact, Marketo and Zoho
- Web and e-Commerce: Wordpress, WooCommerce, and Stripe
- Accounting and HR systems: Quickbooks, Zoho, Wave, ADP, and Oracle
- Spreadsheets and other files: Sometimes identifying data about entities is kept in spreadsheets or other files.
These systems typically have export functions allowing you to move their data from one system to another. Look for the option to export to Comma Separated Values (CSV). CSV is the format used by the application for reading and loading data. Check out our list of Plug and Play Data Sources for instructions on how to export their entities.
Extracting Data from Data Sources
You will want to select all the identity data available in each source, look for:
- System ID or account number - this is how you would look them up in the source system
- Names - Primary name, Synonyms, Nicknames, AKA if any
- Date of birth
- Gender
- Addresses - Home, Mailing, Alternate, etc
- Phone numbers - Home, Work, Fax, Cell or Mobile
- Email addresses - Possibly websites for a company
- All identifiers - SSN, other National ID, Drivers License, Passport or similar
The more of these fields you provide the more accurate entity resolution will be.
For optimal entity resolution, ensure that the data sources have a minimum of a first and last name, and any two of the above-listed features.
Mapping & Loading Your Data
Once you have identified your data sources and exported them to CSV files, it is time to map and load the data. Mapping is the process of annotating the columns in a data source with terms Senzing understands to describe the fields. For example, the column header for first name in your source CSV may be named fname. Senzing recognizes a first name using the term NAME_FIRST. Your task during the mapping process is to match the Senzing term to the contents of each CSV column. It is the mapped columns that designate which data attributes will be used for entity resolution.
To further understand mapping review Mapping Tutorial & Assistance. There is additional help under the ? button on the mapping screen.
First, create a new project for your data. Click on the Projects icon in the menu bar and then Add Project. Give the project a name and click Create.
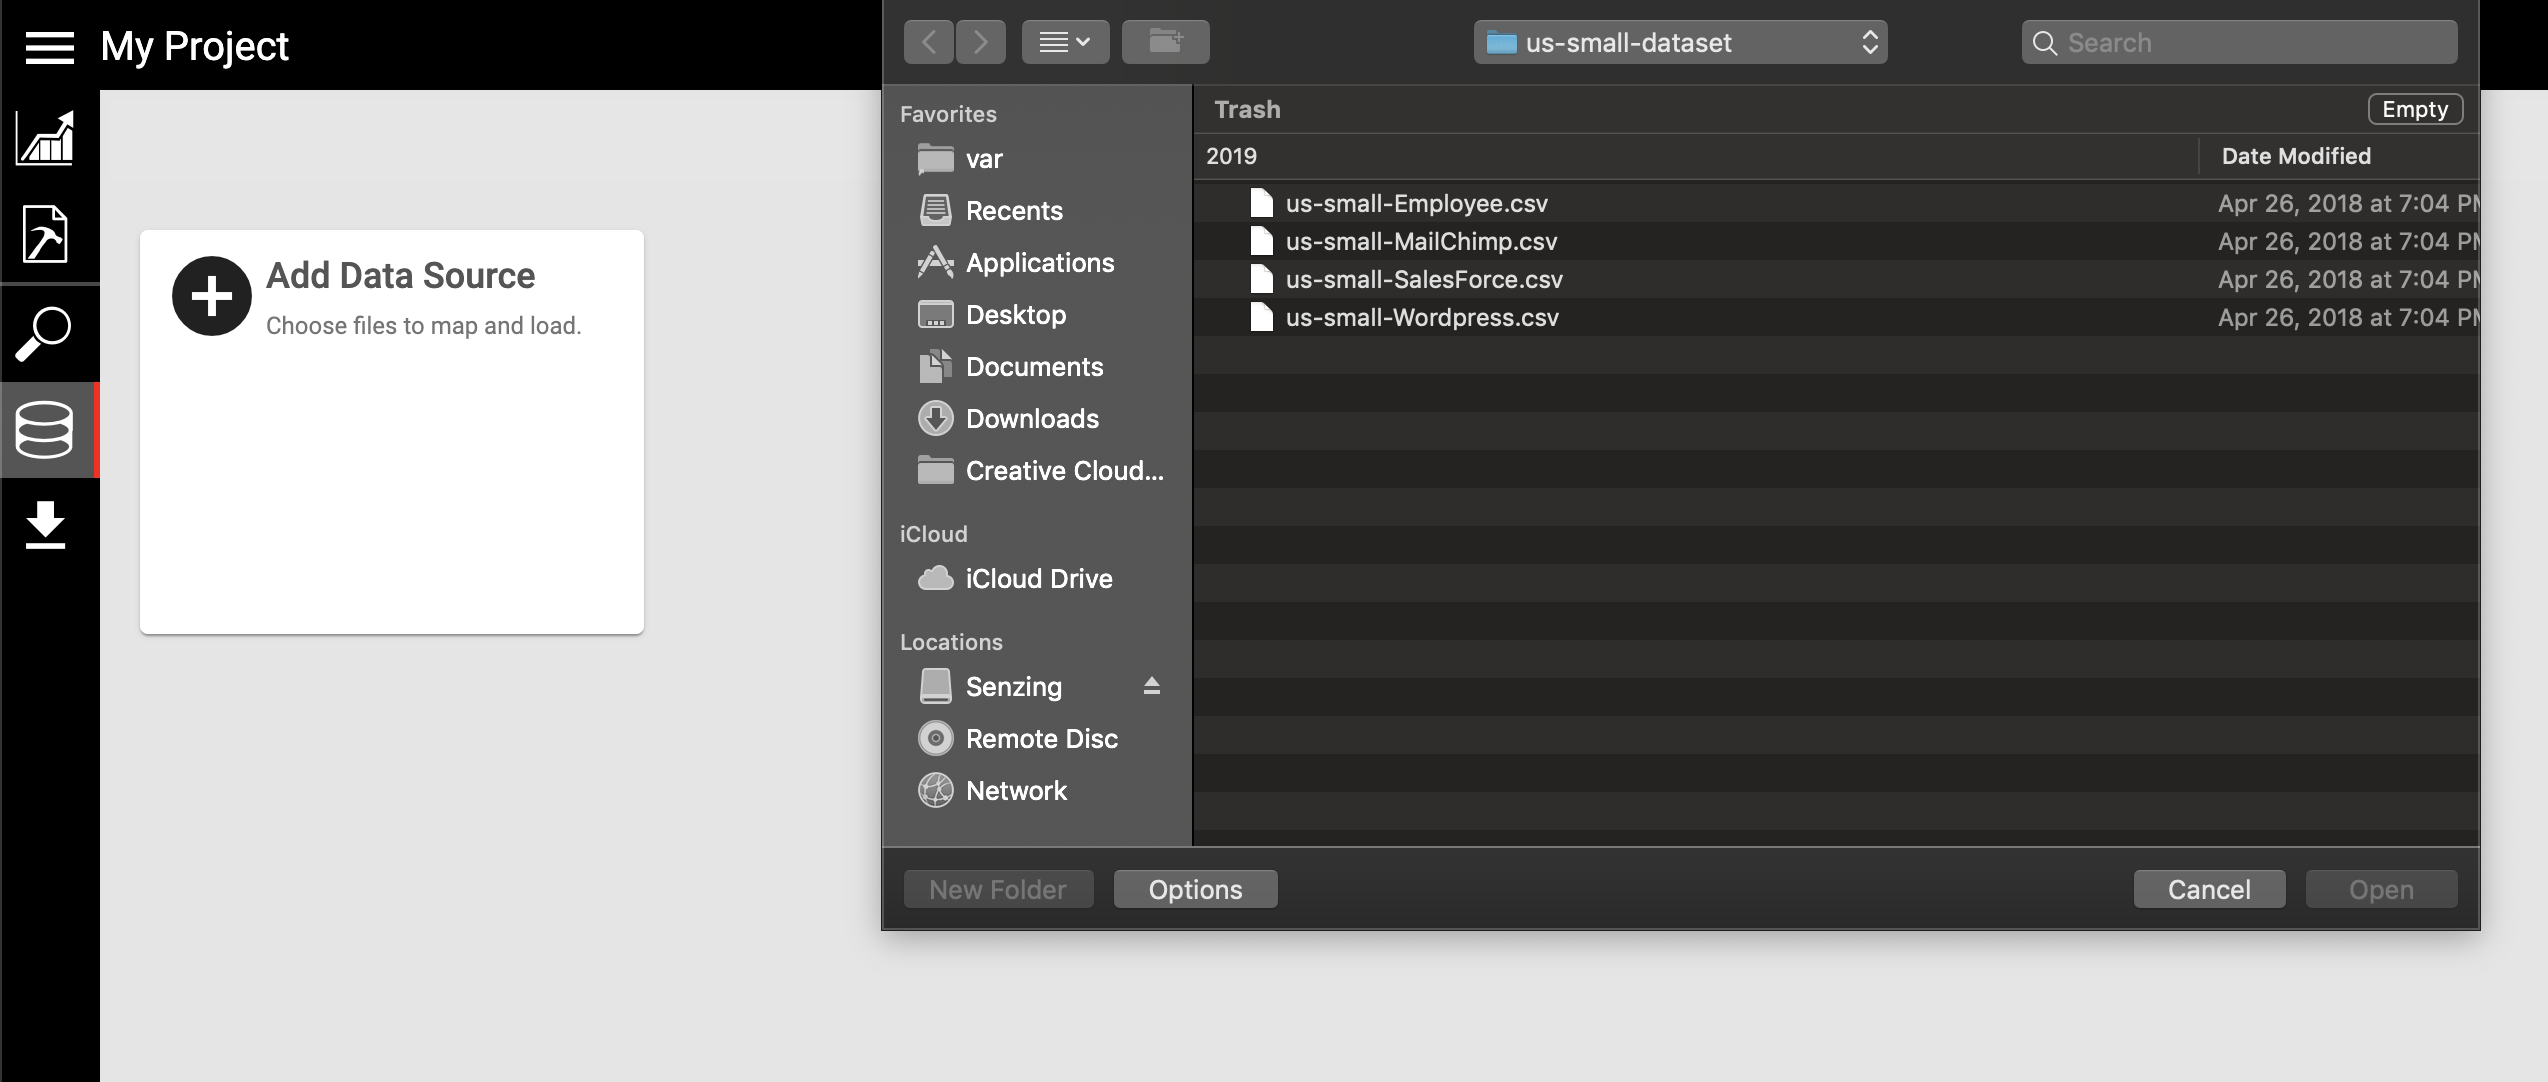
Once created the new project will open, and you can add your exported data source(s) by clicking on Add Data Source for each one.
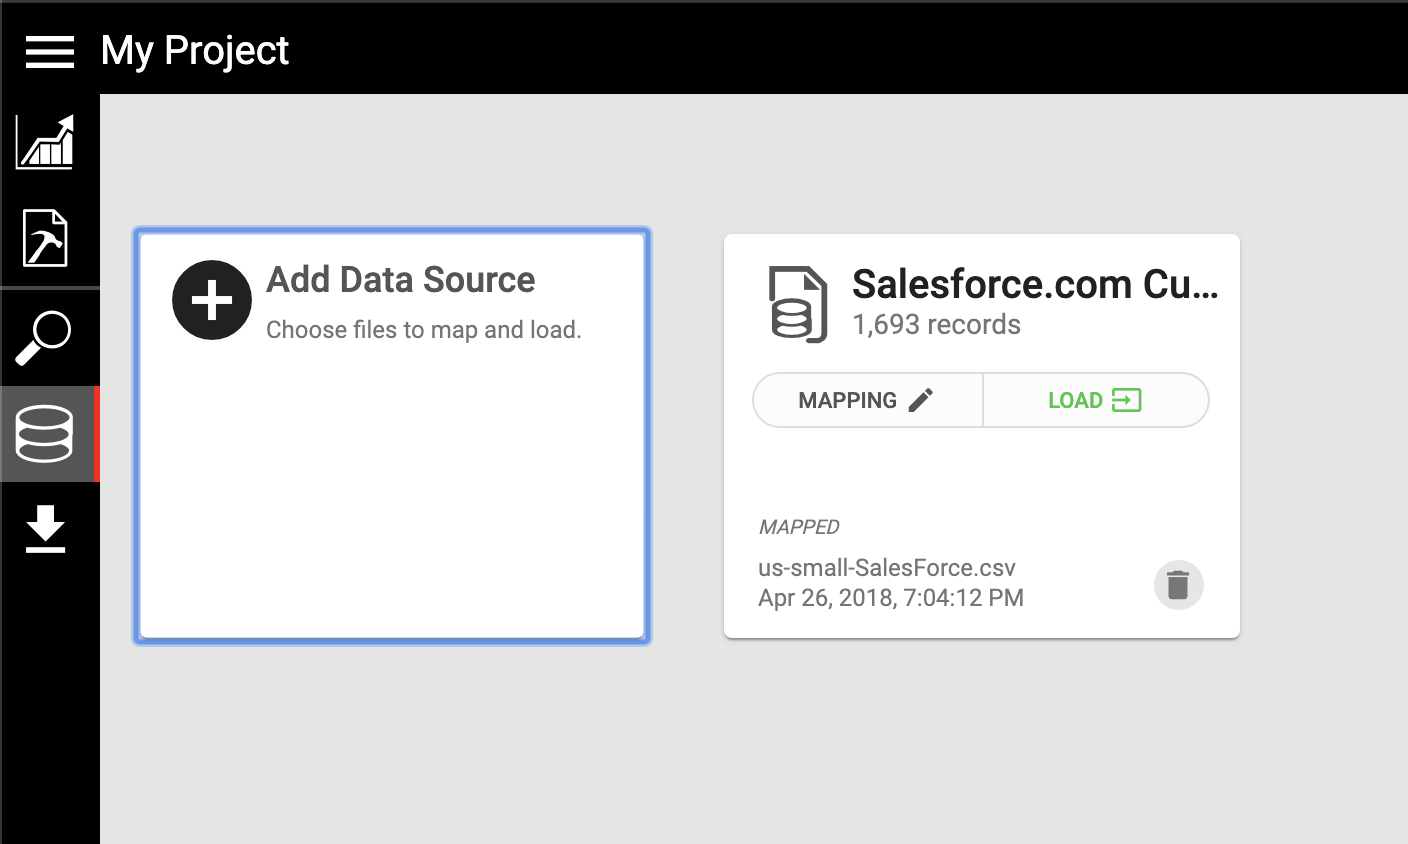
If it’s one of the Plug and Play Data Sources, you will see the status is set to LOAD; the application has auto mapped the fields. Simply click on LOAD to begin loading the data source.
If the source is not one of the plug and play sources, the status is set to REVIEW MAPPING. The application will attempt to auto-detect the columns and auto map them, but you should always review these and make amendments as necessary.
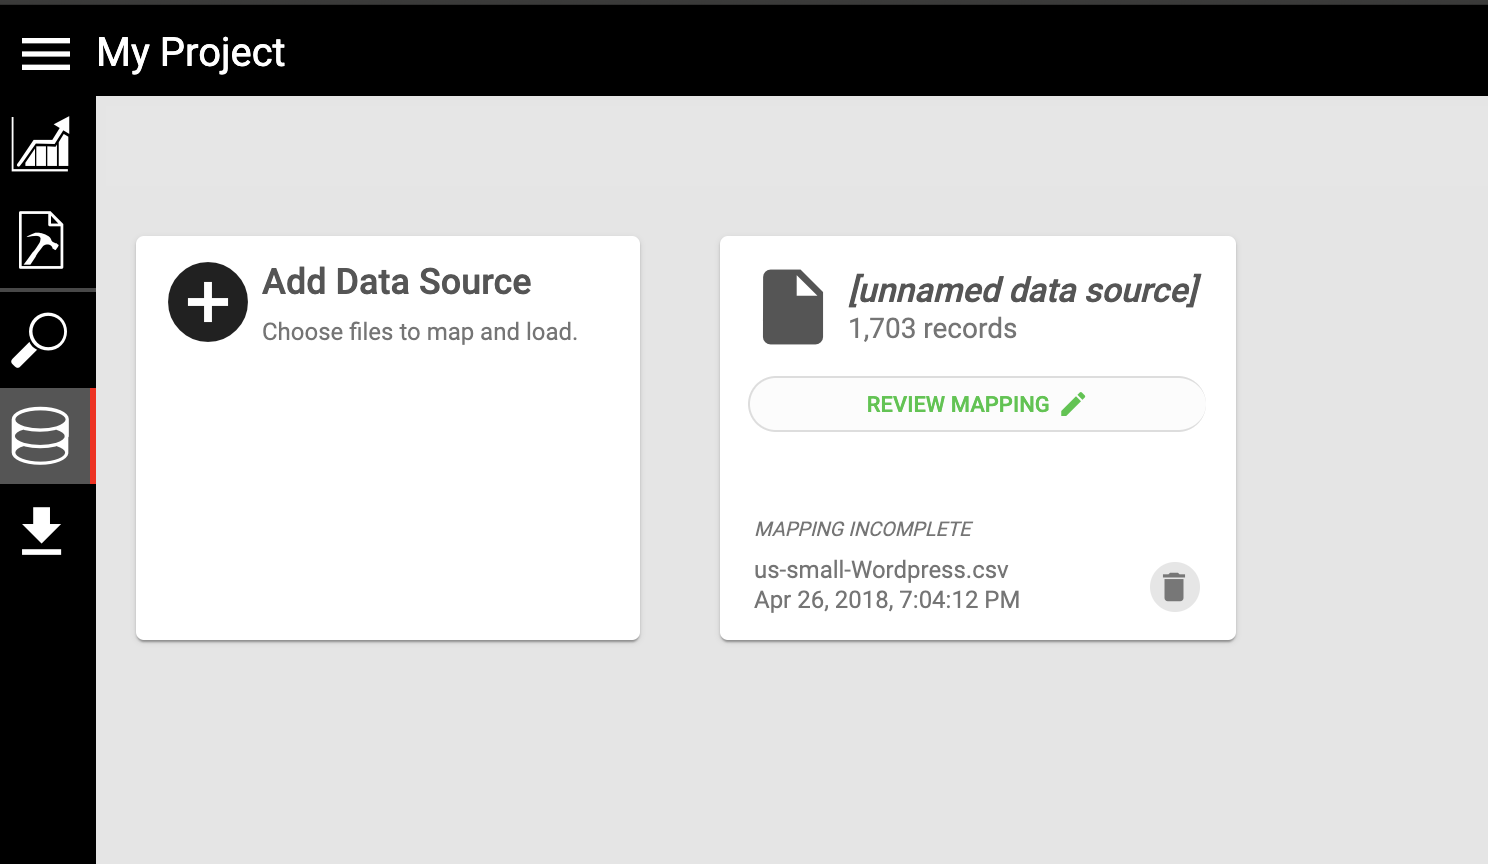
Click on REVIEW MAPPING to go into the mapping screen. On the mapping screen add a data source name to describe this data.
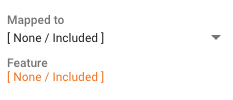
In addition to mapping data attributes to use for entity resolution, you can choose to include or exclude informational data attributes you may need in analysis. Use the Included checkbox across the top of each column to include or exclude these values. Columns not mapped to a Senzing term but selected to be included will be loaded and available for reporting but will not be used during entity resolution processing.
Once you have completed the mapping review, press the Ready to Load button to return to the project. After adding and completing the mapping review for one data source, repeat the process to add additional data sources you may have to add them to the project. To complete loading click on the LOAD button for each data source.
Loading can take from minutes to hours depending upon the volume of records in the source file and the resources available on your computer. Mouse over the progress bar to see the rate of ingestion and how far through the source file processing is.
After completion of loading you'll see the load button on the data source card has changed to REVIEW. As with the demo project, you can now review and explore the outcomes from entity resolution processing.
Comments
0 comments
Please sign in to leave a comment.